
Building a garden tool rack is an easy and cost-effective way to keep your garden tools organized and accessible. With some basic materials, you can build a sturdy tool rack that will last for years. This guide will provide step-by-step instructions on how to build a garden tool rack that you can customize to fit in any area of your garden. We will cover the materials needed, the tools required, and the steps necessary to complete this project. Once you have built your rack, you will be able to store all of your gardening tools in one convenient location.Making a garden tool rack is a great way to keep your gardening tools organized and easily accessible. Here is a step-by-step guide on how to make one:
1. Gather the materials you will need: wooden boards, screws, drill and drill bits, saw, hammer, nails, and sandpaper.
2. Measure the area where you plan to place the tool rack and determine how large your tool rack should be.
3. Cut the wooden boards to the size that you need with a saw. You may want to use sandpaper to smooth out any
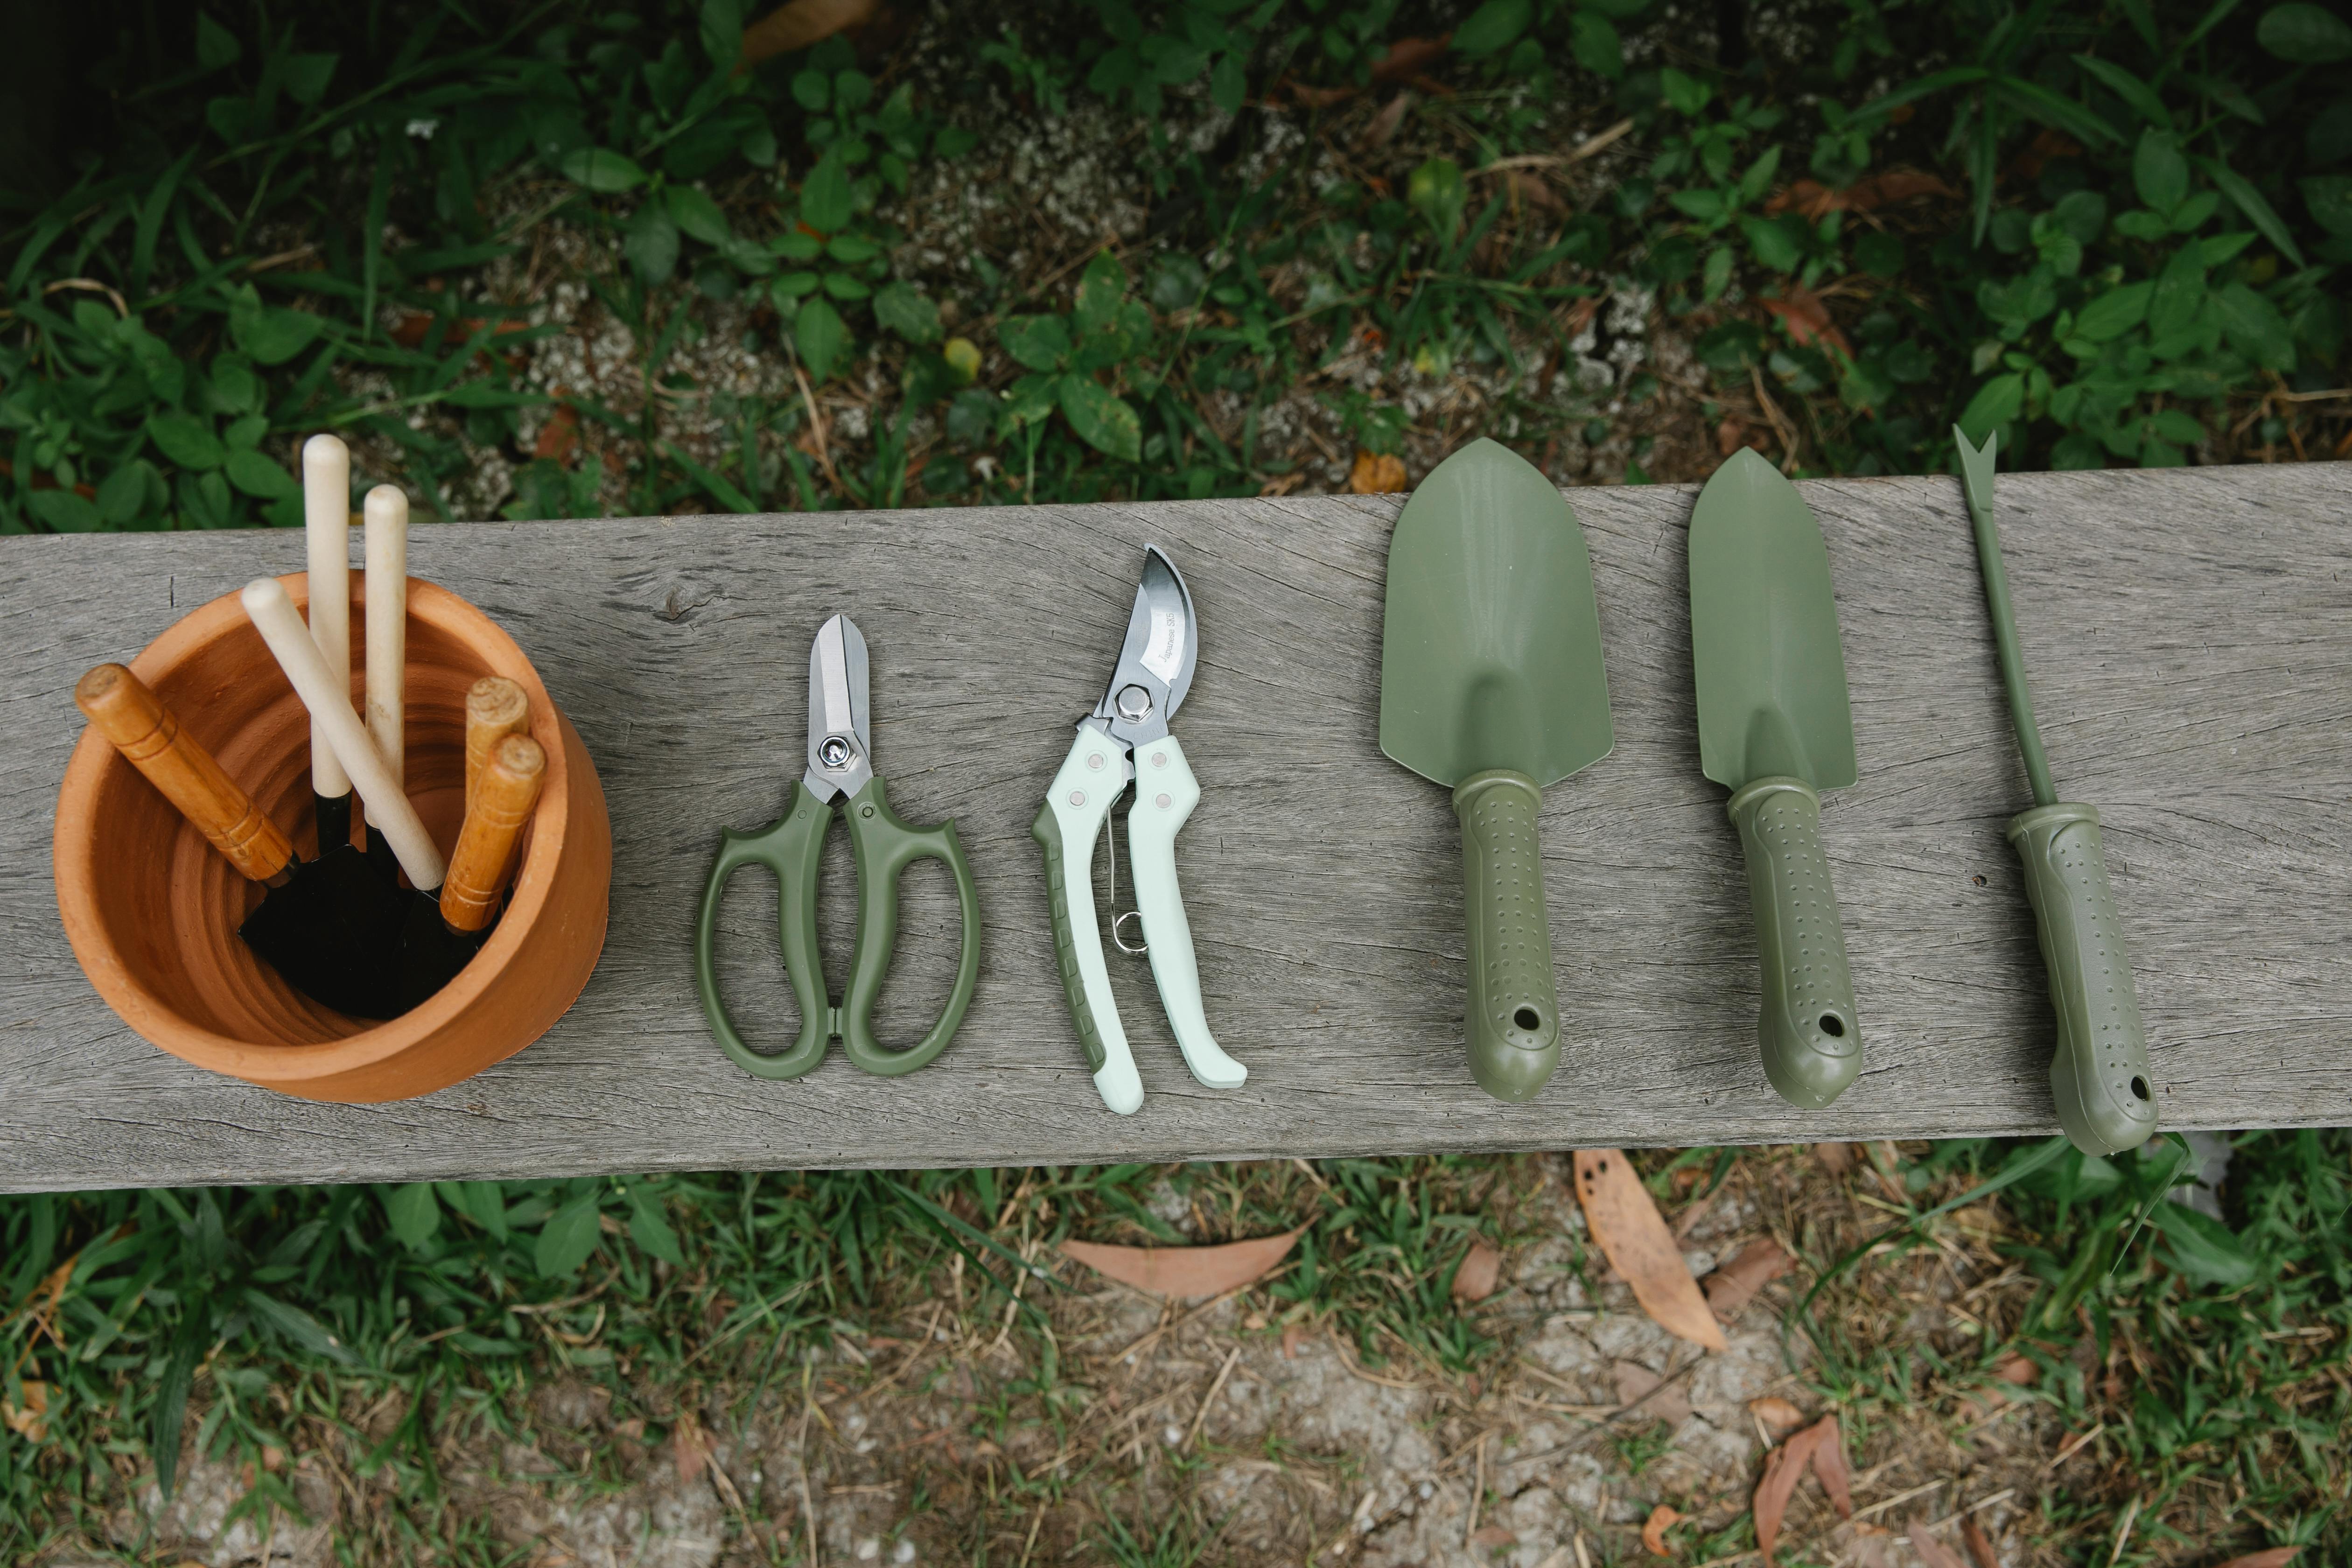
Materials Needed for the Project
When starting any project, it is important to make sure that you have all the necessary materials on hand. Depending on the project, this list may vary but there are some basics that you will need to ensure success.
The first item to have is a good set of tools. This includes basic hand tools like hammer, pliers, saws and screwdrivers as well as power tools such as drills and saws. You may also want to consider purchasing additional items such as sandpaper, clamps and other specialty items that can
Tools Required for Building the Rack
When building a rack, there are several tools that you will need. First and foremost, you will need a drill and drill bits. You will also need screws of various sizes to fasten the rack components together. Additionally, a screwdriver and adjustable wrench are essential for assembling the parts in place. To cut metal bars, you will need a hacksaw or angle grinder. Other helpful tools include pliers, wire cutters, and measuring tape. Finally, if you plan to paint or finish your rack, you may require sandpaper
Preparing the Materials for Building the Rack
Before you can build a rack, you need to make sure that you have all of the necessary materials. Depending on the type of rack you are building and the size, you may need different materials. Generally, most racks require wood, screws and nails, glue, and some type of finish.
Wood is the main material used for building any kind of rack. You will need to decide how many pieces of wood are needed for your project and what type of wood to use. Plywood is often used for smaller
https://images.pexels.com/photos/4491881/pexels-photo-4491881.jpeg
Constructing the Garden Tool Rack
Garden tool racks are a great way to keep your gardening tools organized and readily available. With a few basic supplies, you can easily construct your own garden tool rack to store all your tools in one convenient place. Here’s how:
First, gather the necessary supplies such as wood, screws, nails, and glue. You will also need a saw or power drill, depending on the type of wood you are using. Measure the dimensions of your garden shed or garage to determine how

Mounting the Garden Tool Rack on a Wall
Installing a garden tool rack on your wall is an easy and convenient way to keep all your gardening tools organized and easily accessible. It will also save you some space in your shed or garage. The following steps will help you to mount the garden tool rack onto a wall:
1. Firstly, decide where you want to hang the garden tool rack. Make sure that the area is dry and free from moisture, as this could cause damage to the tools and rack itself.
<
Finishing Touches on the Garden Tool Rack
Adding the finishing touches to your garden tool rack is an important part of ensuring that it looks and performs its best. Depending on the type of rack you’re creating, there are several steps you can take to ensure that your tool rack is both aesthetically pleasing and functional. Here are some tips for making sure your garden tool rack is ready for use.
The first step is to sand any rough edges or surfaces on the tool rack. This will help create a smooth surface that’s easier to
Storing Garden Tools in the Rack
Garden tools need to be stored properly to ensure they last a long time. A great way to do this is by using a garden tool rack. This will give you an organized way to store your tools and keep them in good condition. You can find a variety of styles and sizes of garden tool racks, so you can find one that fits your needs perfectly.
When storing your garden tools in the rack, it’s important that you place them properly so they don’t get damaged or knocked over. Place heavier items on
Conclusion
Building a garden tool rack is a great way to keep all of your tools organized and easy to access. It can also help you save space and make it easier to move your tools around. With the right materials and a few simple steps, you can easily build your own garden tool rack that will last for many years.
When designing your garden tool rack, it is important to consider how much weight the rack will need to hold and how large it needs to be to fit all of your tools. You then need to decide which materials you