
Building a garden tool shed can be a great way to store and organize your gardening tools in one centralized location. With the right supplies and plenty of planning, you can build a garden tool shed that is both functional and aesthetically pleasing. This guide will provide a step-by-step overview of the process for building a garden tool shed, from laying out the foundation to painting the finished product. With careful consideration and attention to detail, you can have your own custom-built garden tool shed in no time.Building a garden tool shed is a great way to store and organize your gardening equipment. Here are the steps you need to follow to build your own garden tool shed:
1. Find a suitable location: Choose a level area that is close to your home and away from trees, if possible. Make sure you measure the area carefully before starting construction.
2. Prepare the site: Clear any debris and level the ground before constructing the shed. If necessary, use stakes and string to mark out walls for construction.
3. Choose materials: Consider using wood or metal for the walls
Gather the Necessary Building Materials
Gathering the necessary building materials is an essential step in any construction project. It is important to ensure that all materials are of good quality and available in sufficient quantity for successful completion of the project. Before beginning, it is important for the builder to assess the cost and availability of each material needed. Knowing the specifications of each material, such as size, strength, and weight, will help to determine the amount required and its cost.
It is also important to consider where to purchase these materials from. Paying attention to
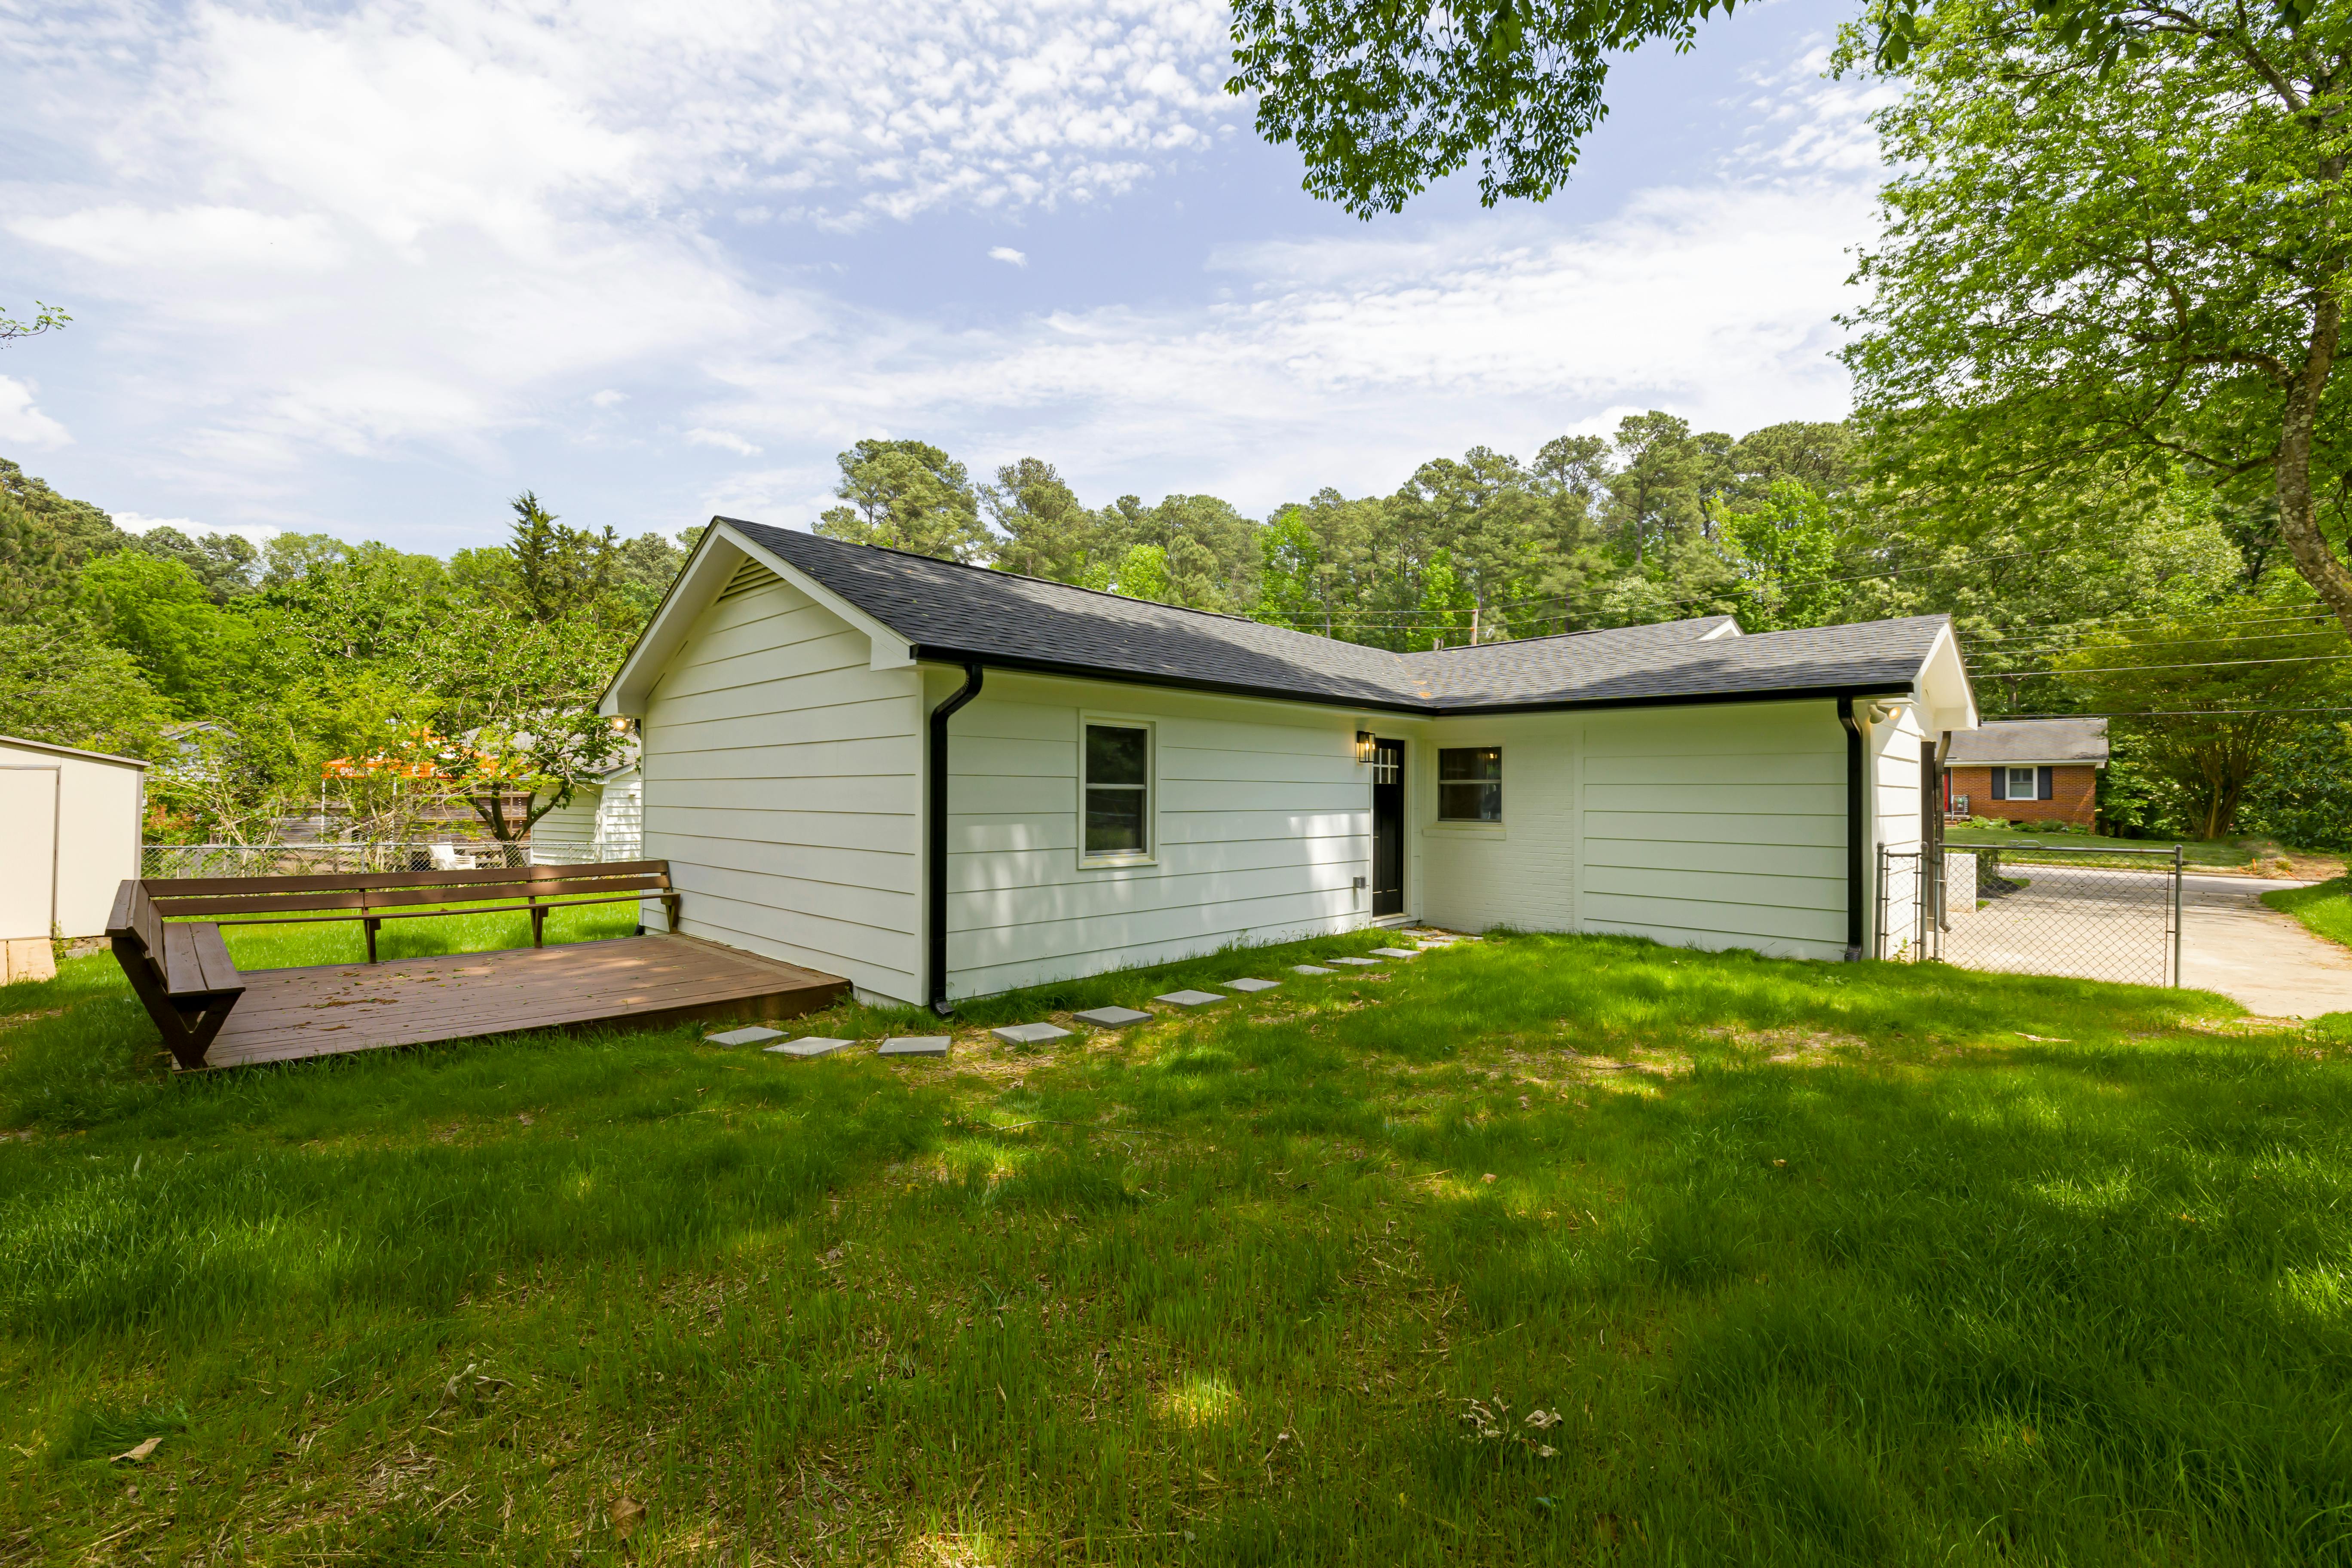
Choose a Flat Spot to Build the Shed
When planning on building a shed, it’s important to identify an area that is relatively flat and level. This will ensure that the shed will be stable and secure. If you’re building a shed from a prefabricated kit, the instructions may specify an area with certain dimensions. Otherwise, look for an area that is at least 10 feet by 10 feet in size or larger. If you plan to use the shed for storage or as a workshop, you’ll need more space.
The area should also be easy
Mark Out the Area for the Shed Foundation
Marking out the area for your shed foundation is an important step in ensuring that you have a sturdy and level base for your shed. To begin, measure the area where you plan to build your shed and mark out the perimeter with stakes and string. Make sure to double check all of your measurements to ensure accuracy. Once you’ve marked out the area, use a shovel to remove any vegetation or debris, such as rocks or roots, from the ground. Next, use a level to make sure that your foundation is level and even
https://images.pexels.com/photos/8031883/pexels-photo-8031883.jpeg
Dig and Level Out the Foundations for the Shed
Before building a shed, it is important to dig and level out the foundations. This is necessary to ensure that the shed is built on a level and secure base. To do this, mark out the area of your shed using a garden hose or string line. The measurements should be taken from the largest dimension of your shed so you have enough room to dig. Once you have marked out the area, use a spade or shovel to dig down to a depth of at least 6 inches. After you have dug out the
Assemble the Frame for the Shed Walls
Building a shed is a great way to add valuable storage space to your home. Assembling the frame for the shed walls is an important step in the construction process. To get started, you will need some basic supplies, including wood screws, wood glue, and a saw.
Start by measuring and cutting your lumber to size. Make sure each piece fits together snugly before you begin attaching them. If necessary, use a planer or saw to adjust any pieces that don’
Installing Wall Paneling for the Garden Tool Shed
Installing wall paneling is a great way to add additional storage and protection to your garden tool shed. Wall paneling can also give your shed a more finished look and create a unique and stylish space. With the right tools and materials, installing wall paneling can be a relatively easy and inexpensive project.
Before starting the project, you should plan out how much paneling you will need for your shed. Measure the walls of your shed, including any windows or doors, to get an accurate measurement. Once
Installing Doors and Windows on Your Shed Wall Panels
Adding doors and windows to your shed wall panels is a great way to increase the amount of light and ventilation in your shed. It also creates an attractive look that can enhance the overall appearance of your outdoor space. Installing doors and windows onto shed wall panels is a relatively simple process, but it does require some basic tools and supplies. Here are some tips for installing doors and windows on your shed wall panels:
First, you’ll need to find a door or window that will fit
Conclusion
Building a garden tool shed is not as difficult as it may seem. With the right materials, tools and knowledge, anyone can construct a sturdy, reliable structure that will serve its purpose for years to come. Whether you choose to buy a pre-made shed or build one from scratch, be sure to take the time to secure all pieces together properly and double-check that everything is sealed and secured before you move on. With these tips in mind, you should have no trouble creating a garden tool shed that will provide a safe place for your gardening tools and supplies.