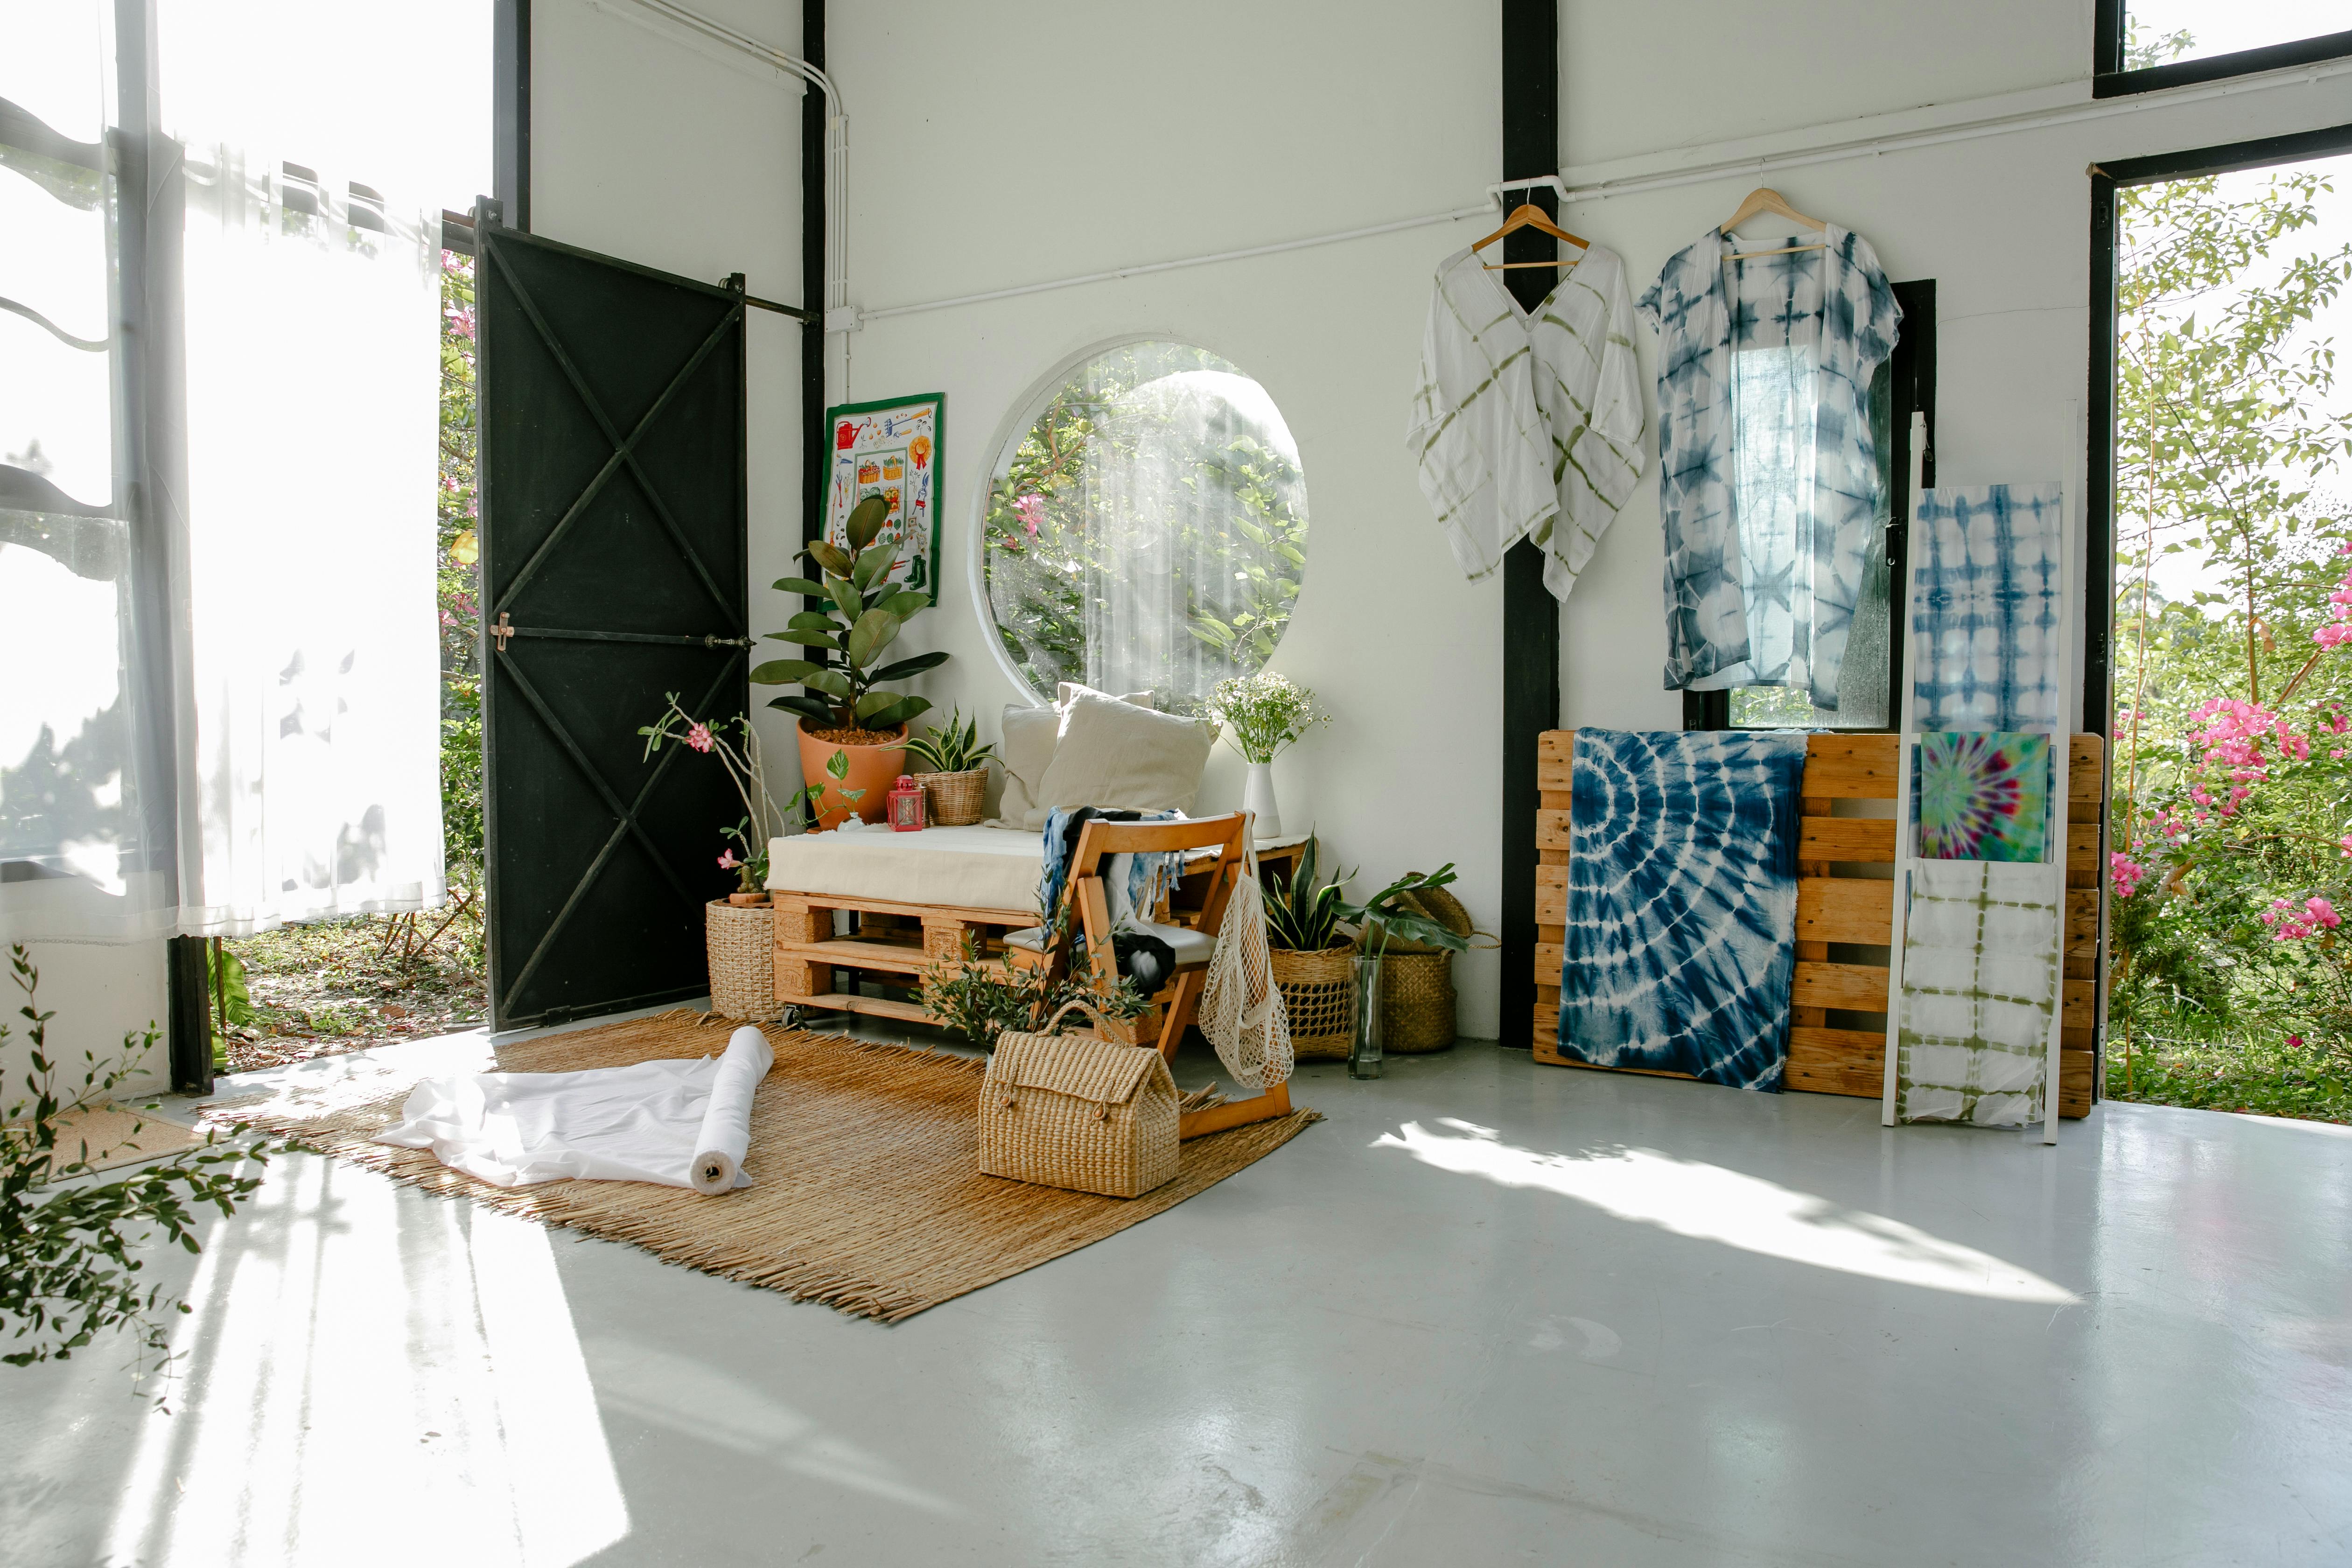
Building a garden workshop is an easy and rewarding way to create a useful and attractive addition to your home. With the right materials, tools, and instructions, you can create a garden workshop in just a few days. This guide explains the basic steps for constructing a garden workshop from start to finish, including selecting the right location, gathering materials, and assembling the structure. With careful planning and basic carpentry skills, you’ll be able to build a garden workshop that meets your specific needs.Designing a garden workshop should be approached with careful consideration of the desired functions and purpose of the workshop. Begin by creating a list of the potential uses for the workshop, such as storage, gardening activities, or working on projects. This can help determine the size and layout of the workshop, as well as the necessary features.
Once you have an idea of what you need in your garden workshop, consider where it will be located in your garden. Look for a spot that has good access to utilities like electricity and water. It should also be placed where you can take advantage of natural light.
Workshop Space
When it comes to creating a garden workshop, the first step is to make sure you have enough space. A large garage or shed provides the perfect space for a garden workshop. If you don’t have the space, consider converting a spare room in your home into a workshop. Make sure that the area is well-ventilated and free of any debris or clutter. Additionally, ensure that there is enough light in the area to work comfortably.
Power and Plumbing
Most garden workshops need
What Wood to Use for Building a Garden Workshop
When it comes to building a garden workshop, the most important factor is choosing the right wood. There are many different types of wood, each with its own unique characteristics and benefits. It’s important to choose the right wood for your workshop, as this will ensure that your workshop is strong and durable enough to last for years. Here are some of the most popular woods used for building garden workshops:
Pine: Pine is a softwood that is often used in construction due to its strength and affordability.
Cutting the Lumber
The first step in cutting and assembling lumber is to select the right type of lumber for the project. Depending on the project, different types of lumber may be needed such as plywood, particle board, or solid wood. Once the type of lumber is determined, the next step is to measure and cut the lumber according to the project requirements. This can be done using a handsaw or a power saw. It is important to use safety equipment such as gloves and safety glasses when cutting the lumber to prevent injury.
< https://images.pexels.com/photos/6850587/pexels-photo-6850587.jpeg
Installing Windows and Doors of the Garden Workshop
Installing windows and doors in a garden workshop can be a challenging yet rewarding task. The first step is to measure the opening, as this will determine the size of the door or window you will need. It is important to measure accurately, so that you get the right fit for your workshop. Once you have the measurements, it is time to purchase the right materials for the job. You will need a frame for both windows and doors, as well as hinges, locks, and weather proofing materials such as seals and

What Roofing Materials Should Be Used for Building a Garden Workshop?
When building a garden workshop, there are many different roofing material options to choose from. Asphalt shingles are one of the most popular and affordable options. They come in a variety of colors, textures, and styles to match any home’s exterior. Asphalt shingles are also lightweight, which makes them easy to install. Another popular roofing material is metal. Metal roofs are strong and durable, and they can last up to 50 years if properly maintained. Metal roofs can also
Finishing the Walls
Finishing the walls for your garden workshop is an important step in the process. It is important to ensure that the walls are properly sealed and insulated from the elements. Once you have insulated and sealed the walls, you will need to add a layer of paint or stain to protect them from moisture and sunlight. You may also want to consider adding a sealant or waterproofing material to further protect your walls. After this, you can begin to add wall decorations such as shelving, cabinets, or lighting fixtures.
How to Install Electrical Outlets for a Garden Workshop
Installing electrical outlets in a garden workshop can be a daunting task, especially if you are unfamiliar with the process. However, with some guidance and preparation, you can install electrical outlets in your garden workshop safely and efficiently. In order to do this, you need to purchase the appropriate materials and have the right tools on hand.
First, you should make sure that you have all of the necessary tools and materials. This includes electrical wire, wire cutters, conduit fittings, an electrical

Conclusion
Building a garden workshop is a great way to make use of your outdoor space. It can provide an area for you to work on projects and store your tools and equipment. Before you start building, it’s important to plan the layout, size and shape of your workshop, as well as the materials you’ll need. You should also consider any potential safety hazards that may be present in the environment. Once you have considered all of these factors, you can then get started on building your garden workshop.
It’s essential to make sure
