
Building a garden storage box is an easy and affordable way to add extra storage space to your outdoor living area. With a few basic tools and materials, you can create a durable and attractive box that will help keep your garden items safe from the elements. In this guide, we’ll walk you through the steps for building your own garden storage box, from selecting materials to assembling it.Building a garden storage box is an easy and relatively inexpensive way to store outdoor items such as gardening tools, lawn mowers, and other large items. Here are the steps you need to follow to build a garden storage box:
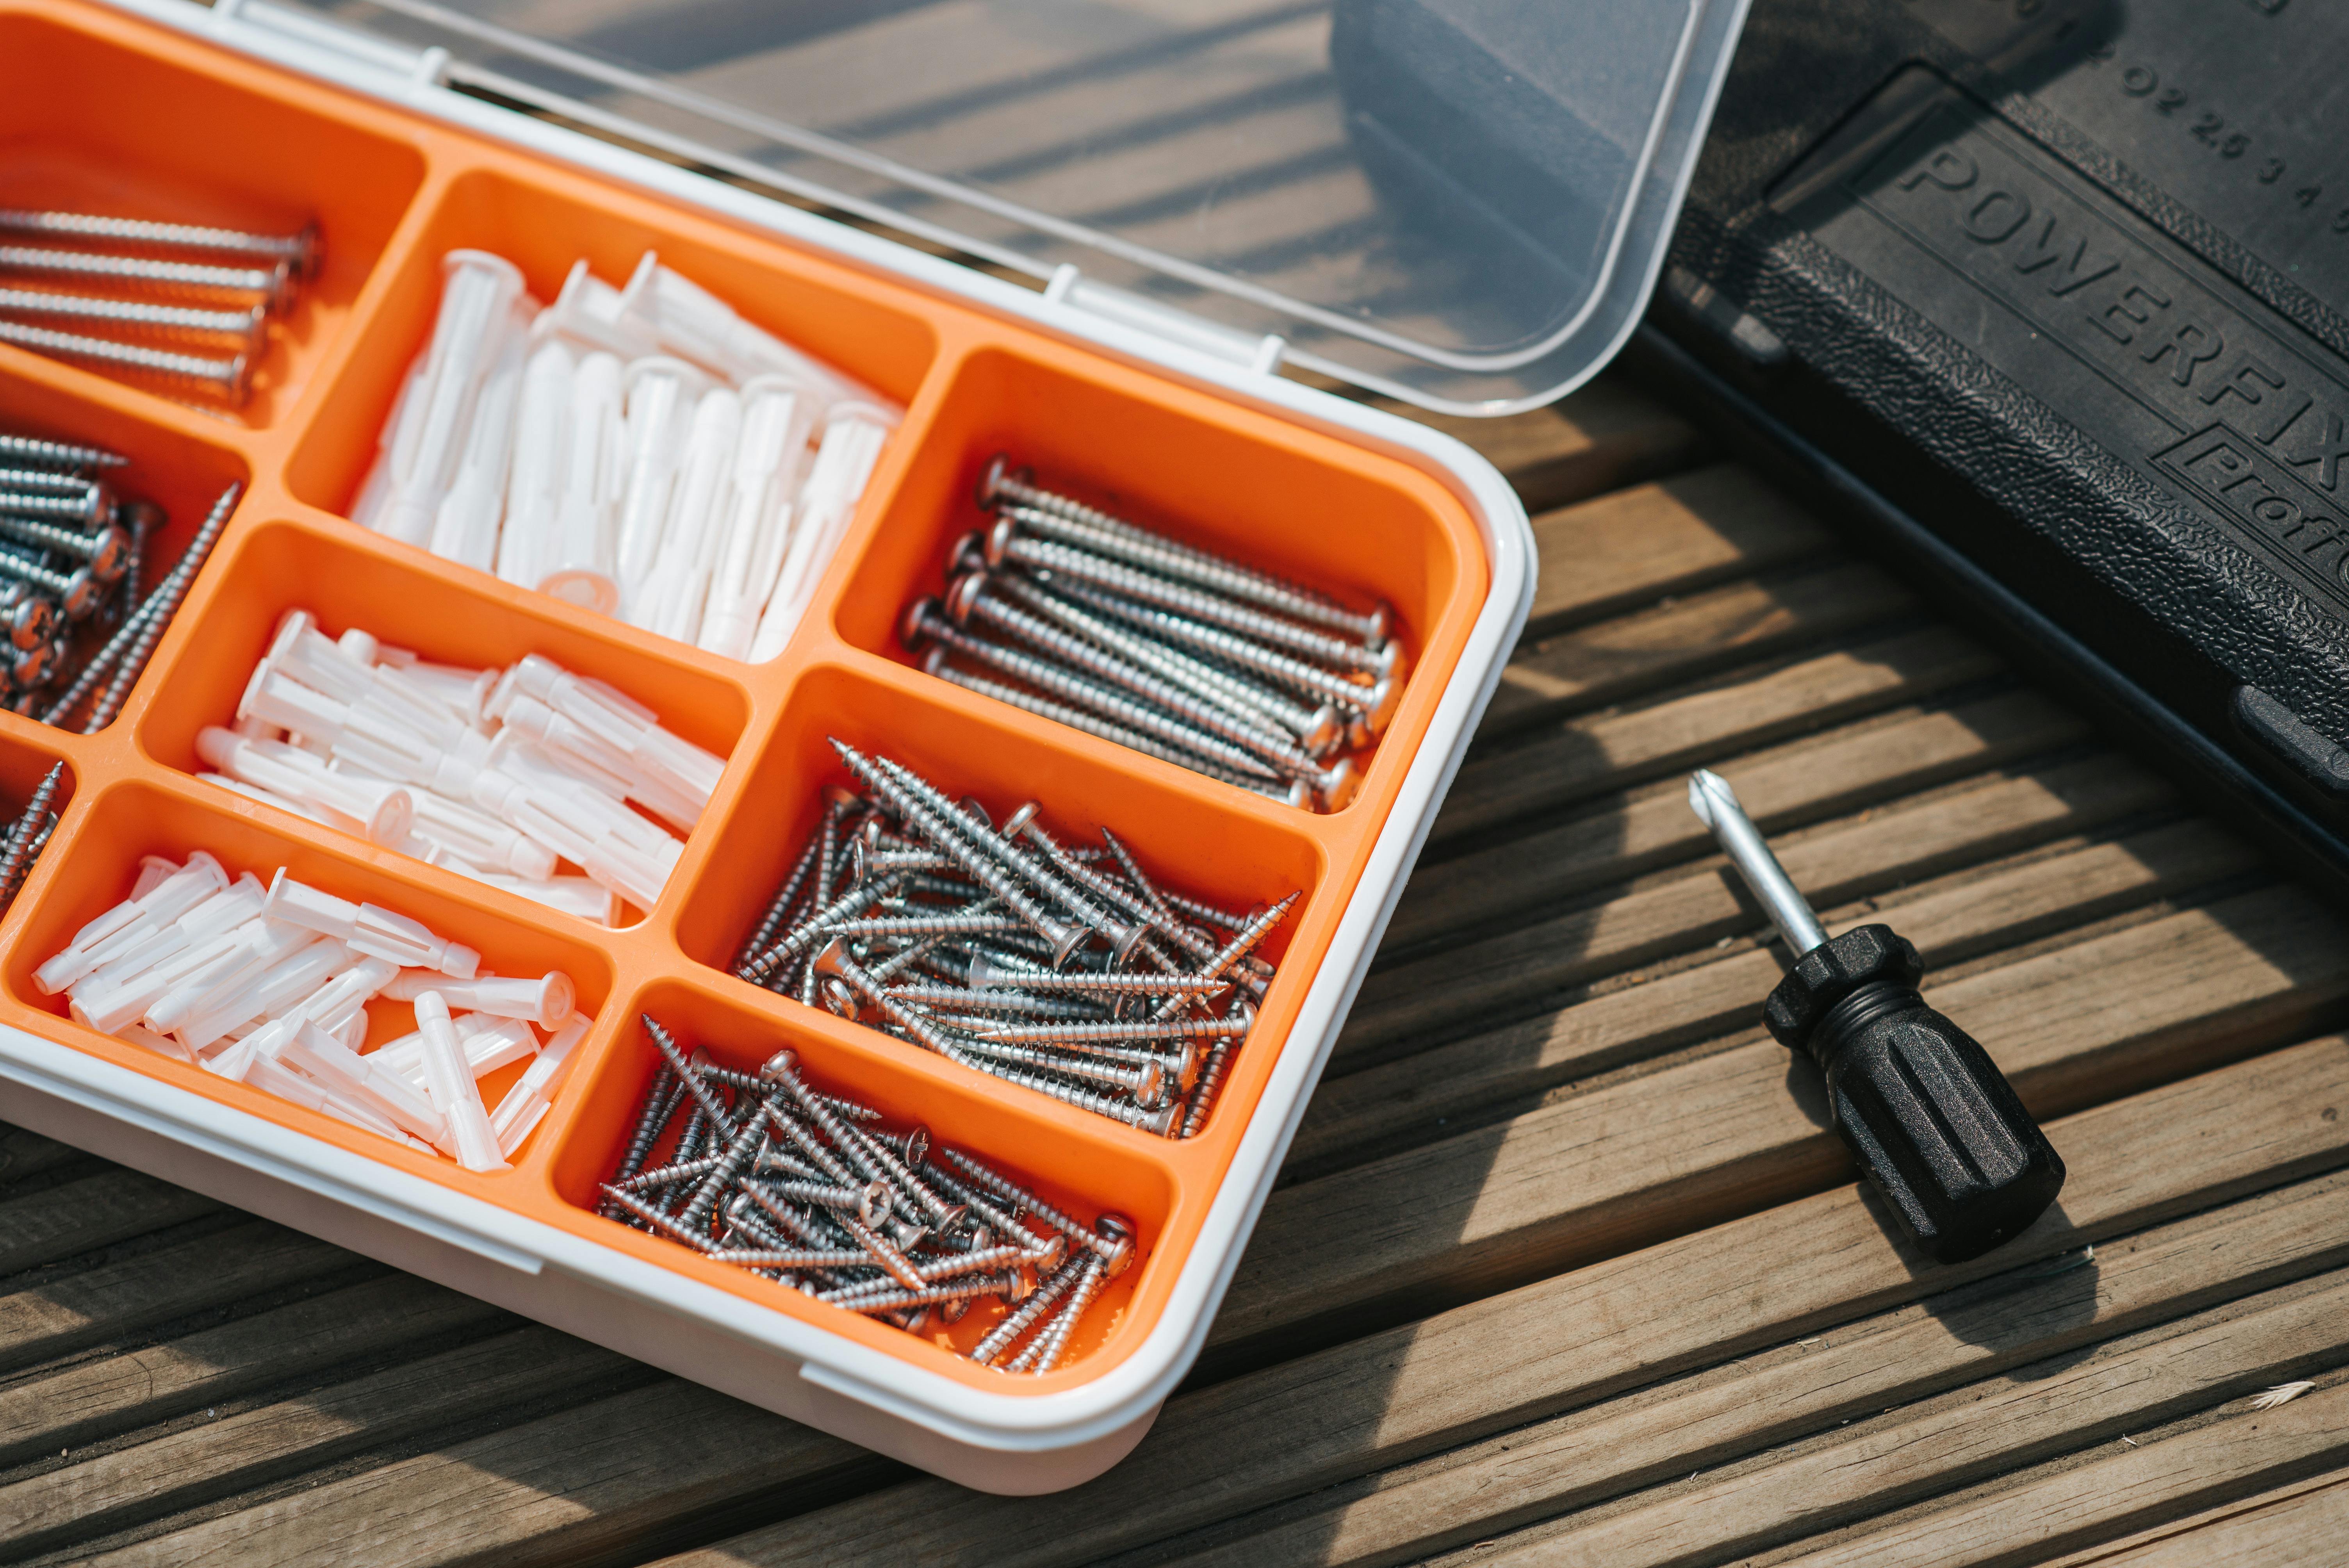
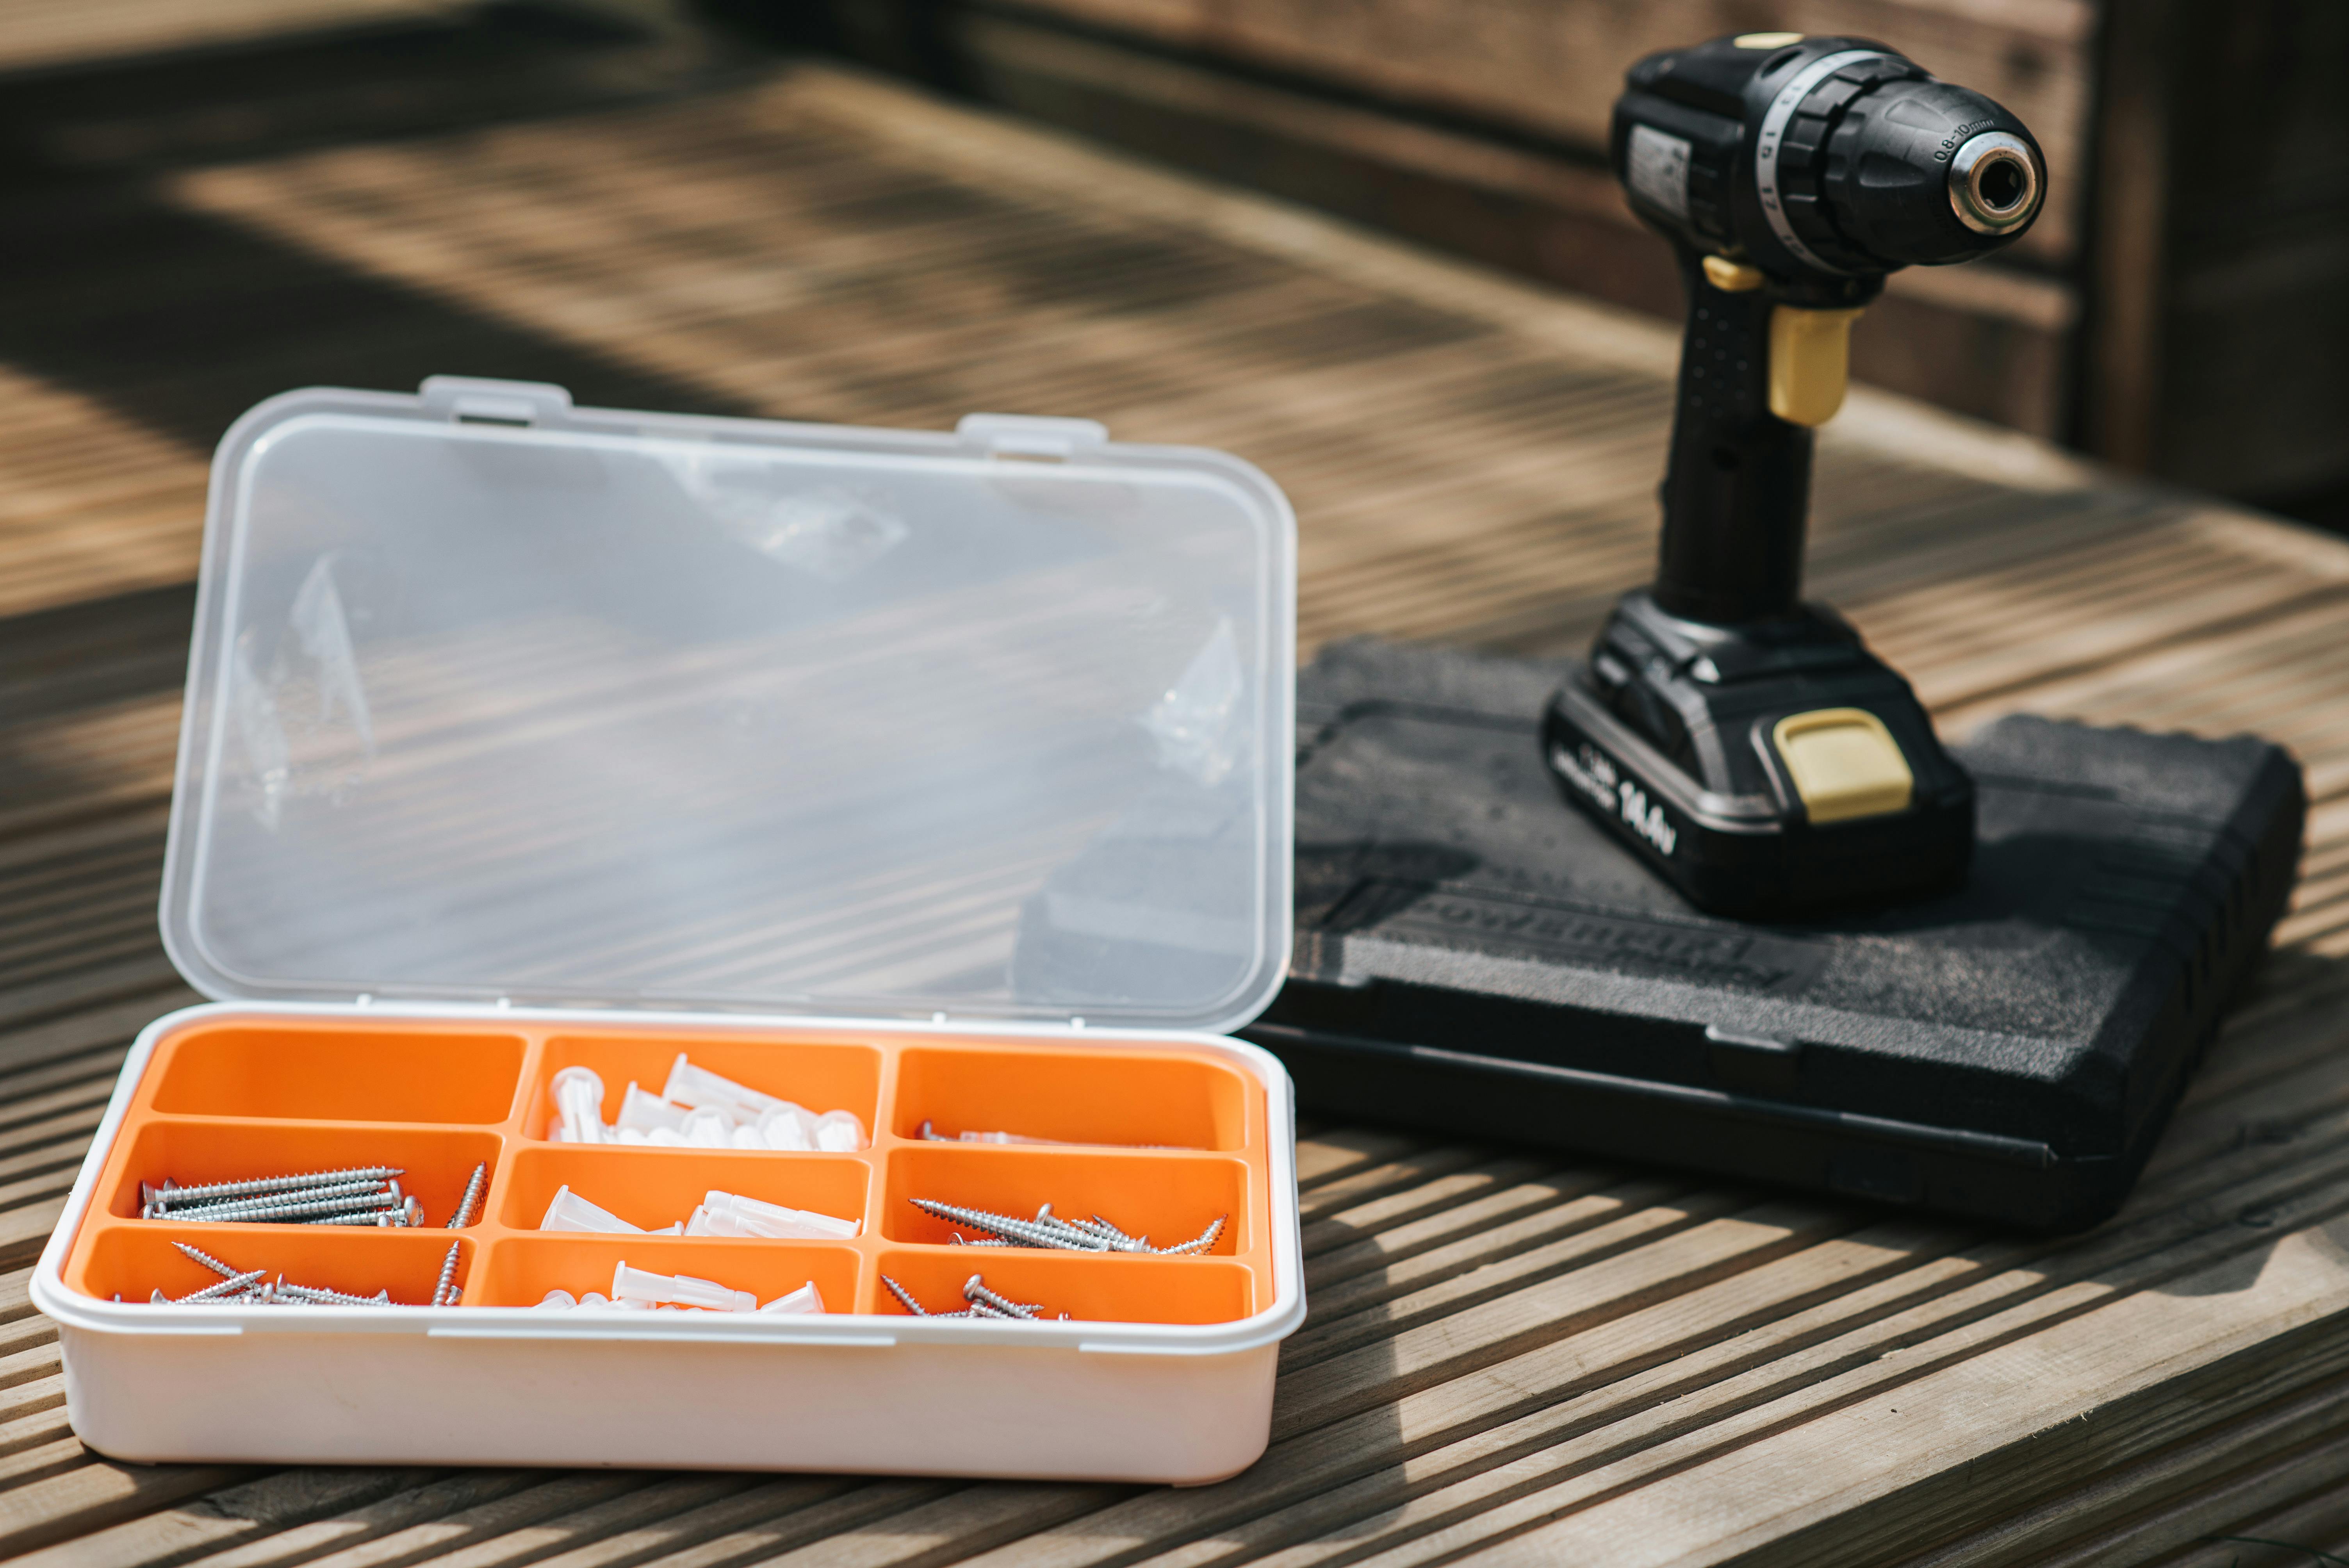
1. Gather your supplies: You will need wood (plywood or treated lumber), screws, nails, saws, drill, sandpaper, paint or sealant, and a weatherproofing material (such as a tarpaulin) for the roof.
2. Measure and cut the wood to size: Measure the dimensions of the box you want
Tools and Materials You’ll Need
When it comes to completing any project, having the right tools and materials can make all the difference. Before you begin, make sure you have everything you need for the job at hand. Depending on the project, this could include saws, hammers, drills, screwdrivers, sandpaper, paintbrushes, screws and nails. It’s also important to have some basic safety items such as masks, gloves and protective eyewear.
Other materials you may need include wood, tile or other
Determine the Size of the Garden Storage Box
When it comes to garden storage boxes, size is probably one of the most important factors to consider. The size of your box will depend on how much room you have in your garden and what you plan to store in it. You want to make sure that the box is big enough to accommodate all of your items, but not so big that it takes up too much of your outdoor space.
To determine the size of your garden storage box, start by measuring the area where you plan to place
Prepare the Wood for the Garden Storage Box
Before beginning to build a garden storage box, it’s important to prepare the wood for the project. First, use a saw to cut your wood into the desired shapes and sizes. Consider how big or small you want your box to be, and make sure all of your pieces are cut accordingly. Once you have all of your pieces cut, sand them down with sandpaper until they are smooth and free from splinters. You can also use a wood sealant or waterproofing agent to protect the wood from moisture and other
https://images.pexels.com/photos/4792488/pexels-photo-4792488.jpeg
Cut Wood Pieces for the Sides and Floor of the Garden Storage Box
Now that you have gathered all the materials and tools necessary to build a garden storage box, it’s time to cut all the pieces of wood. Start by measuring out the pieces of wood that will form the sides and bottom of your box. You can use a miter saw or jigsaw to make straight cuts, or you can use a hand saw for curved cuts. Be sure to measure twice and cut once so that all your pieces fit together snugly. Once all your pieces are cut,
Step 4: Assemble Sides of Garden Storage Box
The final step in constructing your garden storage box is to assemble the sides. Once you have cut out all the pieces, you can start to assemble them. Start by connecting the two side pieces together with nails or screws. Make sure that the edges are flush and that all the holes line up correctly. Once connected, use more nails or screws to attach the top and bottom panels to the sides. Again, make sure that everything lines up correctly and that all of the pieces are flush against each other. Finally, you
Step 5: Add Floor to Garden Storage Box
Adding a floor to your garden storage box is an essential step in the construction process. This will create a secure and weather-resistant foundation for the rest of your structure. To begin, you’ll need to measure and cut a piece of plywood or other suitable material that matches the inside dimensions of your storage box. Make sure to leave a small gap around the edges to allow for expansion and contraction of the wood due to temperature changes. Once the floor piece has been cut, you can attach it to the frame using screws or
Step 6: Install Hinges and Handle on Garden Storage Box
The final step in building your garden storage box is to install the hinges and handle. Installing hinges and handles are simple tasks, but they can make a big difference in the functionality of the box. First, measure and mark the position for the hinges on the back side of the box. Drill pilot holes for each hinge and then secure them with screws. Make sure that all of the screws are tightened securely so that the lid will open and close smoothly.
Next, measure and mark the position for
Conclusion
Building a garden storage box is an easy and cost-effective way to keep your garden tools and accessories neat and organized. It not only provides a neat storage solution, but it also adds value to the garden by creating a functional area. With careful planning, purchasing the right materials, and following the instructions in this guide, you can easily build a garden storage box that will last for many years.
If you need additional help with building your garden storage box, there are plenty of online resources available to help you along the way. You can