
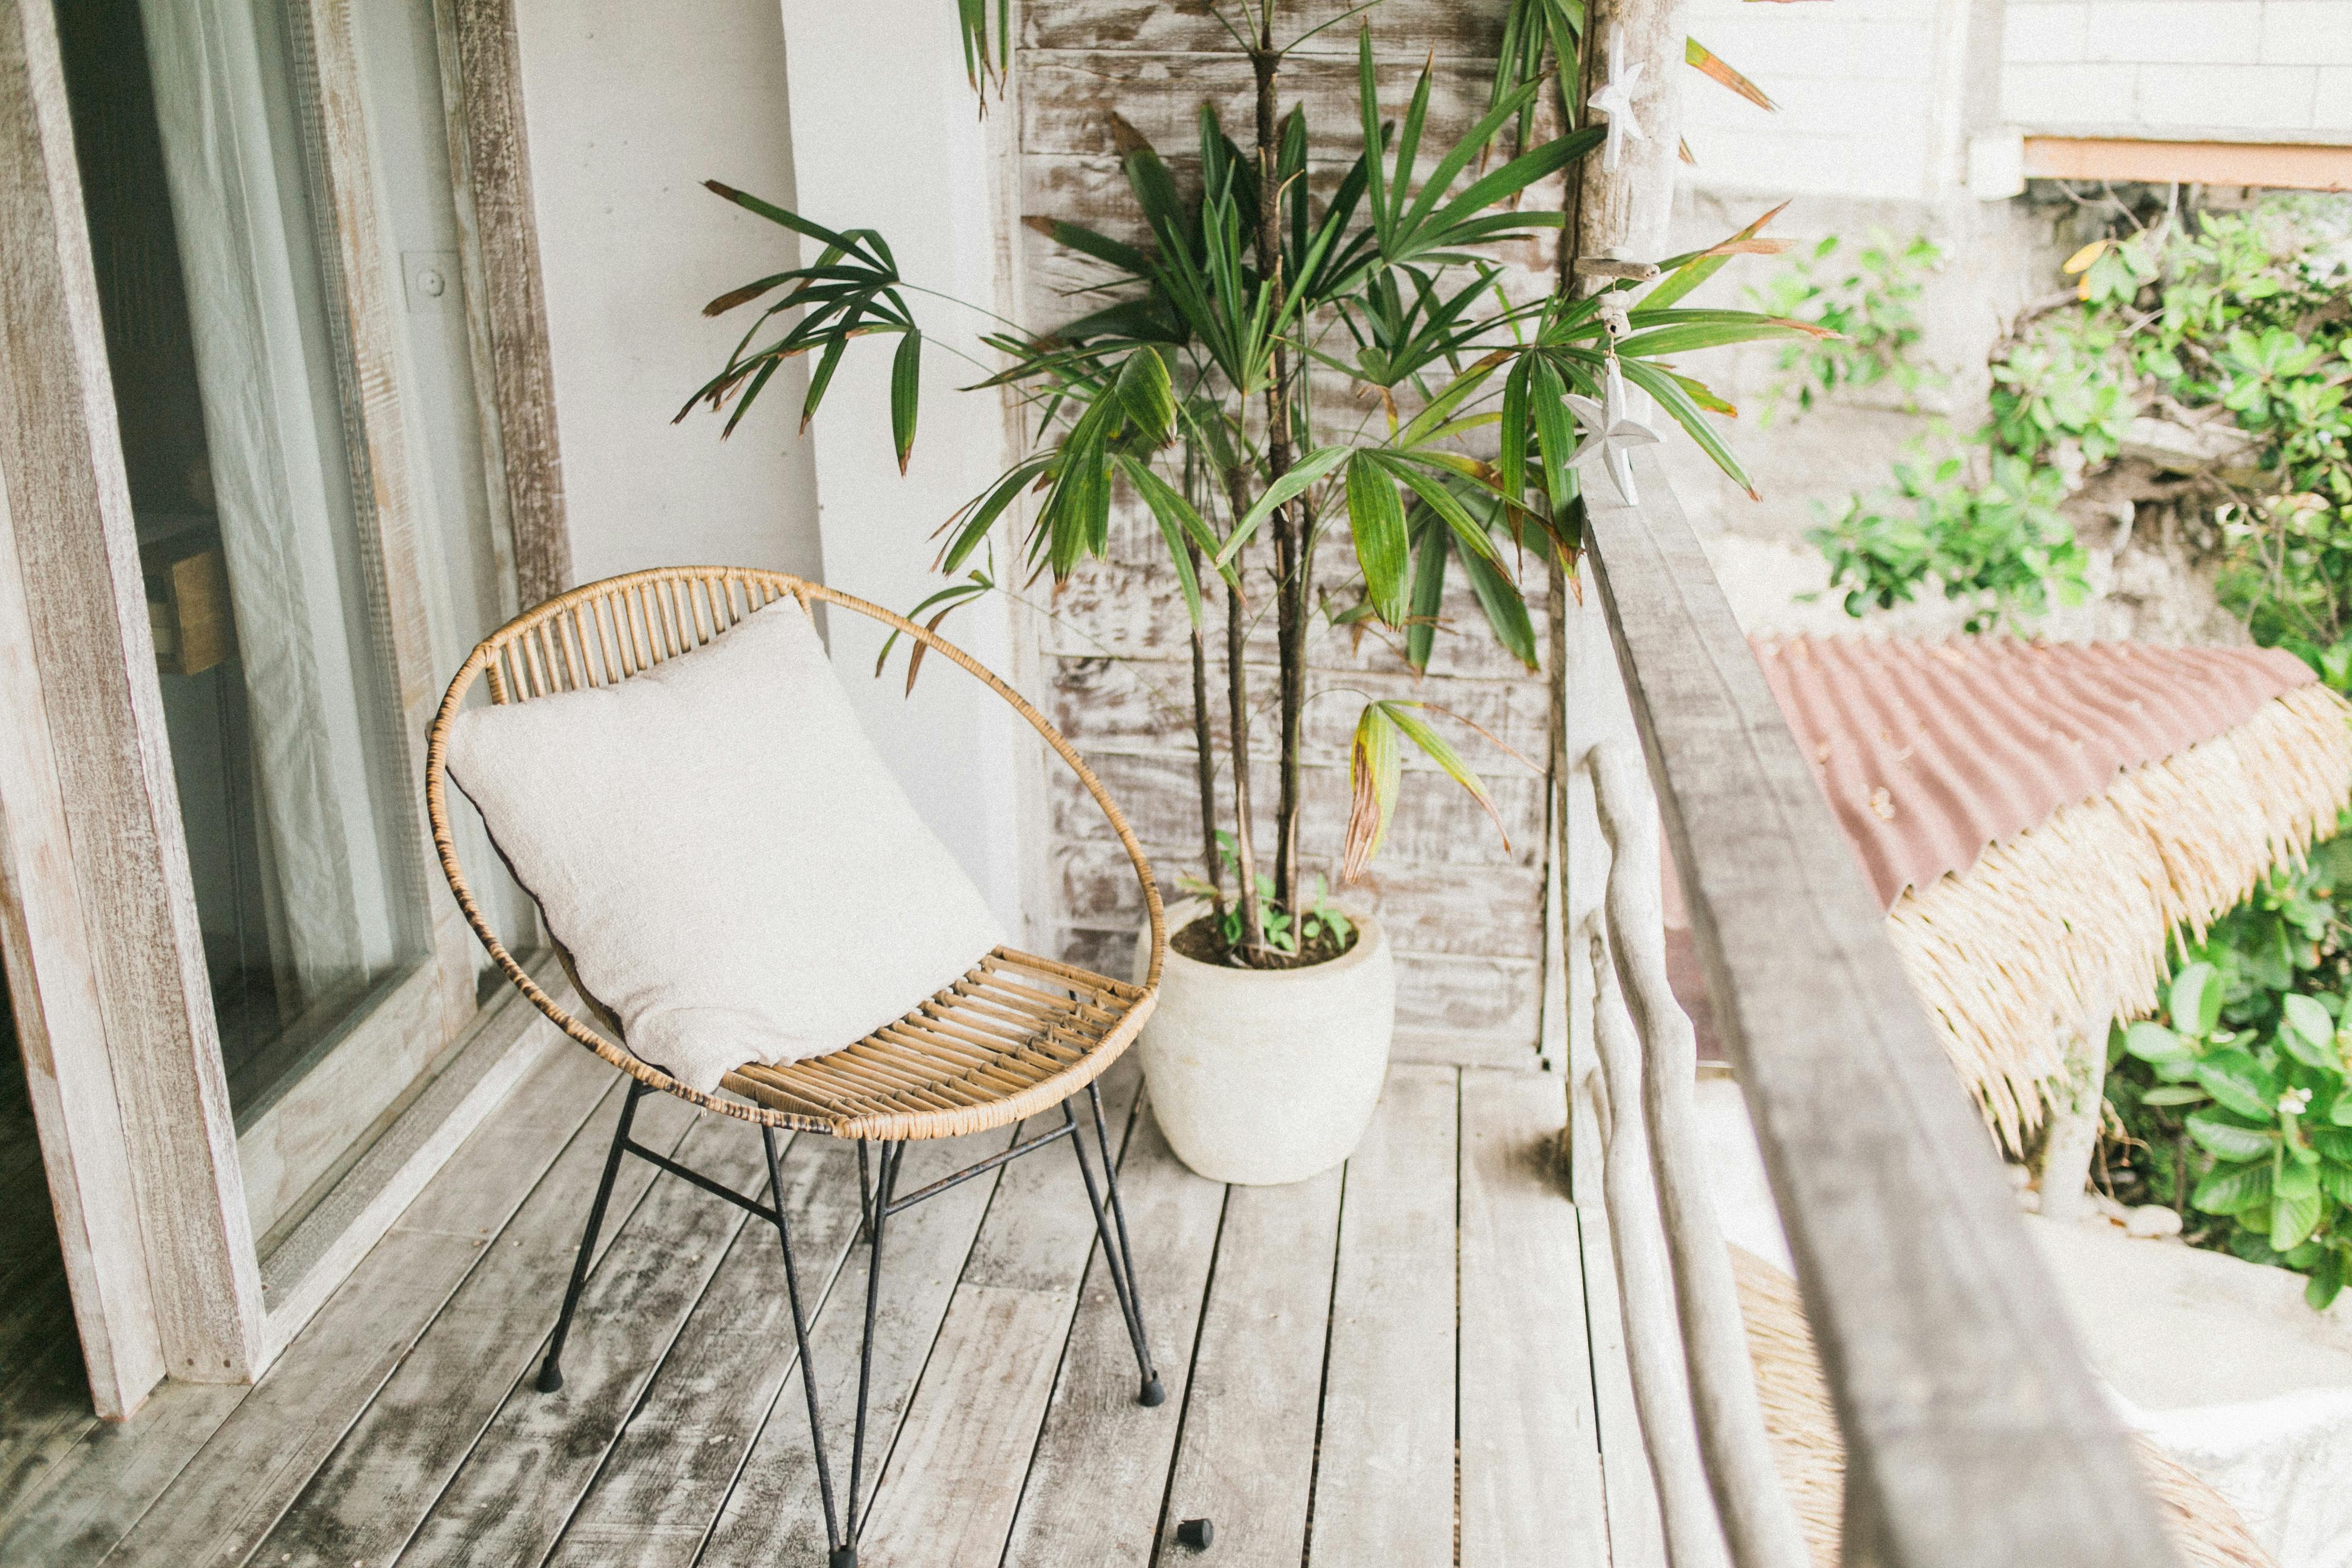
Building wooden garden planters is a great way to add a decorative touch to your outdoor space. Not only do they look beautiful, but they are also practical and can be used for a variety of purposes, from growing flowers and vegetables to providing extra seating. With the right materials, tools and instructions, anyone can build a wooden garden planter in no time. This guide will outline the steps needed to construct your own unique planter.Building wooden garden planters is a great way to add charm and character to your outdoor space. To create a wooden garden planter, you will need the following supplies:
1. Wood of your choice (cedar, pressure-treated pine, redwood, etc).
2. Circular saw
3. Drill
4. Wood screws
5. Sandpaper
6. Exterior wood sealer or stain
7. Plastic liner (optional)
8. Landscape fabric (optional)
Once you have gathered all the supplies you need, follow
Introducing the Materials
When introducing the materials, it is important to be familiar with the properties and characteristics of each material. This will help you determine what type of materials are best suited for a particular application. Additionally, understanding the safety and environmental considerations associated with each material is important for ensuring a safe and successful project.
Choosing the Right Materials
Selecting the right materials for your project can be a challenging task. It is important to consider factors such as performance, cost, durability, and availability
Cut and Assemble the Sides of the Planter
Building a wooden planter is a great way to add a unique touch to any outdoor space. To begin, you will need to cut and assemble the sides of the planter. Start by measuring out the wood pieces and cutting them with a saw according to your measurements. Once all of your pieces are cut, use wood glue to attach them together. Make sure that all of the edges are flush with each other before you move on to the next step. After you have assembled all four sides, use clamps to
Attach the Sides and Bottom to Form the Box
To attach the sides and bottom of your box, you will need some basic tools. Start by gathering your materials: a drill, screws, nails, glue, and a hammer. Once you have all the necessary items, begin by pre-drilling holes in each side of the box. This will make it easier to drive in screws or nails later on.
Next, use glue to attach the bottom piece of wood to one side of the box. Make sure you apply enough glue so that it holds firmly
https://images.pexels.com/photos/5028853/pexels-photo-5028853.jpeg
Add Support Braces to the Box
Adding support braces to a box is an important step in ensuring its safety and stability. It helps to provide additional strength so that the box can withstand rough handling, heavy loads, and extreme weather conditions. It also gives the box a more professional look and can be used as decorative accents. There are several different types of braces available, each designed for specific purposes.
The most common type of brace is the T-brace, which is a metal crossbar that fits over the corners of the box
Installing a Plastic Liner for Water Retention
A plastic liner is an effective way to collect and retain water in a variety of applications. This material is easy to install and can be used in a variety of settings, such as ponds, water gardens, and irrigation systems. It can also be used to line retention ponds and other water features. Installing a plastic liner is a relatively simple process, although it requires some preparation beforehand. Here are the basic steps for installing a plastic liner:
1. Measure the area where the
Attach Legs to the Planter Box
Attaching legs to a planter box is an easy and straightforward process. To begin, you will need four pieces of wood, preferably cut to the same size and shape, that will form the legs of the planter box. For best results, make sure all four pieces are of equal length. Once you have all four pieces of wood, use screws or nails to attach them securely to the underside of the planter box. You may also want to use wood glue for extra stability.
Once the legs
Stain or Paint Your Planter Box
Adding stain or paint to your planter box is an easy way to customize the look of your outdoor space. Whether you’re looking for a subtle color change, or want to make a bold statement, stained or painted planter boxes add a touch of style and personality to any garden or patio. There are many options when it comes to choosing the right finish for your box, so it’s important to understand the differences between them before getting started.
Staining is a great choice
Conclusion
Building a wooden garden planter is an easy and inexpensive way to add beauty and functionality to your outdoor space. With basic tools and materials, you can quickly build a planter that is both attractive and functional. You can use scrap wood or purchase lumber, depending on the size and design of the planter you have in mind. You can also choose from many different designs, including raised beds, tiered planters, or classic box-style planters.
No matter what design you choose, the key to successful wooden plan
Szpiegowskie telefonu – Ukryta aplikacja śledząca, która rejestruje lokalizację, SMS-y, dźwięk rozmów, WhatsApp, Facebook, zdjęcie, kamerę, aktywność w Internecie. Najlepsze do kontroli rodzicielskiej i monitorowania pracowników. Szpiegowskie Telefonu za Darmo – Oprogramowanie Monitorujące Online.
Najlepsza aplikacja do kontroli rodzicielskiej, aby chronić swoje dzieci – potajemnie tajny monitor GPS, SMS-y, połączenia, WhatsApp, Facebook, lokalizacja. Możesz zdalnie monitorować aktywność telefonu komórkowego po pobraniu i zainstalowaniu apk na telefonie docelowym.